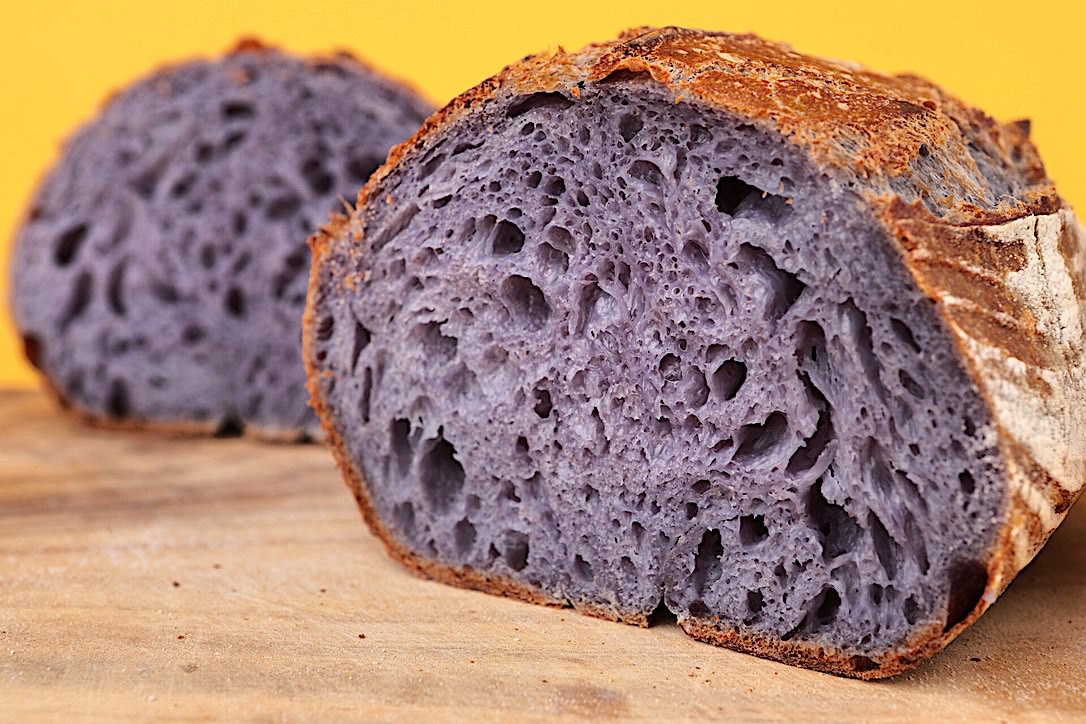
Sourdough baking is an art that blends patience, technique, and high-quality ingredients. Follow this step-by-step guide to create a beautifully crusty and flavorful loaf every time.

Ingredients

Flour and Water:

– 660g flour Use all white flour or adjust ratio to preference; e.g., 60% white, 20% rye, 10% whole wheat, 10% spelt

– 500g water at 90°F (32°C)

Add-Ins:

– 24g pink Himalayan salt

– 80g freshly fed sourdough starter (at peak)

Essential Equipment

– Mixing bowl

– Banneton (proofing basket)

– Plastic bag

– Dutch oven or clay baker (e.g., Römertopf)

– Lame or sharp blade

– Baking stone (optional)

– Cooling rack

Tools of the trade for sourdough making and baking

👉 Check out my Amazon storefront for recommended tools of the trade! *If you purchase through my links, I earn a small commission at no extra cost to you—your support helps keep my baking passion alive!

Step-by-Step Instructions

1️⃣ Autolyse (Pre-Mixing Stage)

– Combine 660g flour with 500g water in a mixing bowl.

– Mix until no dry flour remains.

– Cover and let rest for 30 minutes.

2️⃣ Incorporating the Ingredients

– Sprinkle 24g pink Himalayan salt over the dough.

– Gently fold the dough to mix.

– Add 80g of sourdough starter and use the pincer method (pinch and fold repeatedly) to evenly incorporate.

– Ensure all ingredients are fully mixed.

3️⃣ Strengthening the Dough (Stretch & Fold)

– Rest the dough for a few minutes.

– Perform 4 stretch-and-folds at 20-minute intervals:

– – Using both hands, lift the dough, slap it onto the surface, stretch it fully, and fold it over.

– – Repeat until the dough tightens and becomes smooth.

4️⃣ Bulk Fermentation (Developing Flavor & Texture)

– Cover and ferment at room temperature for 6-12 hours (time varies based on ambient temperature).

– The dough is ready when:

– – It has increased in volume.

– – It has visible gas bubbles.

– – The smell is tangy and distinct.

Fermented sourdough dough after bulk fermentation, showing increased volume, visible gas pockets, and airy bubbles, indicating proper gluten development and fermentation

5️⃣ Shaping the Dough

– Lightly dust a flat surface with flour and pour out the dough.

– Minimize hand contact; use swift, deliberate motions.

– Stretch and pull the dough into a square.

– Punch out excess gas and shape into a boule or oval.

– Tighten seams and place seam-side up into a well-dusted banneton (use coarse semolina and whole wheat flour to prevent sticking).

– Cover with a plastic bag and cold-proof in the fridge for 4 hours.

Fully fermented sourdough dough resting on a floured surface, ready to be shaped into a boule or batard before being placed into bannetons for final proofing

6️⃣ Scoring & Baking

– Preheat oven to 500°F (260°C) with the baking vessel inside.

– Turn the dough onto a cutting board, seam-side down.

– Dust off excess flour and score at a 45° angle with a sharp lame.

Scoring a loaf of sourdough at a 45° angle with a sharp lame to create controlled expansion during baking,

– Transfer into the hot baking vessel, cover, and bake:

– – 500°F for 10 minutes

– – Reduce to 450°F (232°C) and bake for 20 more minutes

– – Uncover and bake for an additional 10 minutes or until crust is dark and crisp.

7️⃣ Cooling & Enjoying

– Remove the bread from the oven and cool on a wire rack for at least 1 hour before slicing.

Freshly baked sourdough bread resting on a cooling rack, showcasing a crispy, golden-brown crust while allowing steam to escape for the perfect texture

Pro Tips for Sourdough Success

✅ Resist adding extra flour – the dough will become less sticky with handling.

✅ Pay attention to fermentation signs – volume increase, airy texture, and distinct smell are key indicators.

✅ Practice scoring techniques to achieve both aesthetic and functional results.

Enjoy your homemade sourdough masterpiece! 🍞🔥

Close-up of sliced sourdough bread revealing a light, airy crumb structure with large, irregular holes, showcasing perfect fermentation and gluten development.